Connect Git and add code
A code is one repository plus the settings Door uses to build it. You connect a Git provider first, then Add Code. That step creates the pipeline and starts the first build.
Fill it like this
This is one repository, one branch, one environment. Change the names to yours.
| Field | Example | Why |
|---|---|---|
| Name | orders | Placeholder Code name. The hint is Must start with a lowercase letter, and contain only lowercase letters, numbers, and hyphens. Door uses it in the image name |
| Framework | The one that matches the repo. NextJS is only the pre-selected value | It steers detection when Cloudoor generates a Dockerfile |
| Branches | main | At least one. Type the name if the list is empty |
| Docker File Path | /Dockerfile, or /services/api/Dockerfile | Where the file actually is. An empty path means the root |
| Environment on 2. Deploy | shop/dev, once that environment exists and the cluster is Ready | Where the first successful build is deployed |
| Port | The port the process listens on. The form starts at 8080 | A mismatch here is a running pod that nothing can call |
Next stays disabled until a repository is connected and the name, framework, branch, and Dockerfile path are set. The message is Connect a repository before continuing.
Build & Deploy is the button that creates the code and starts the build. Cancel leaves the page and saves nothing.
Connect a provider
- Open Code.
- Click CONNECT under GitHub, GitLab, or Bitbucket.
- Sign in on that provider and approve access. You do not paste a personal access token.
Others does not start a sign-in. It opens Add Code.
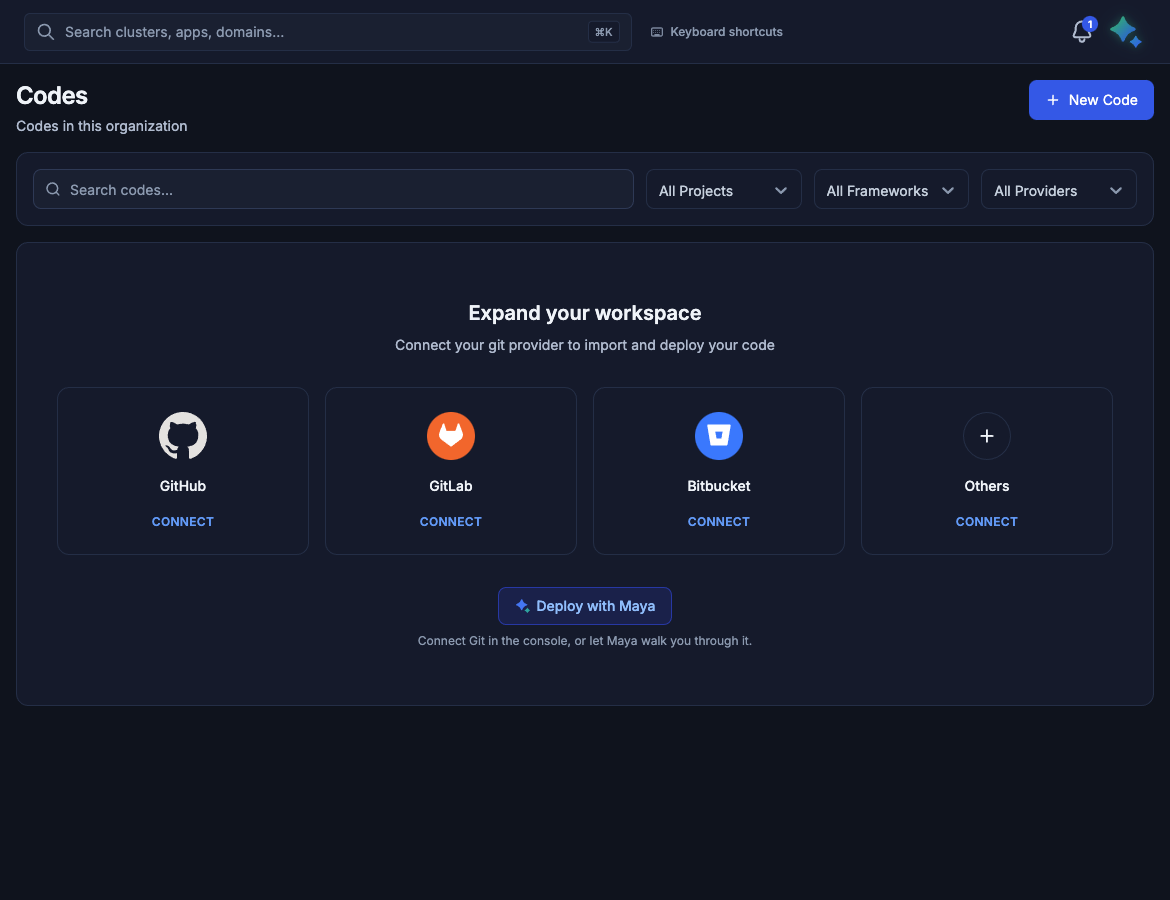
Deploy with Maya opens the assistant beside this page. Use it to walk through the same connection. Confirm before Maya changes anything.
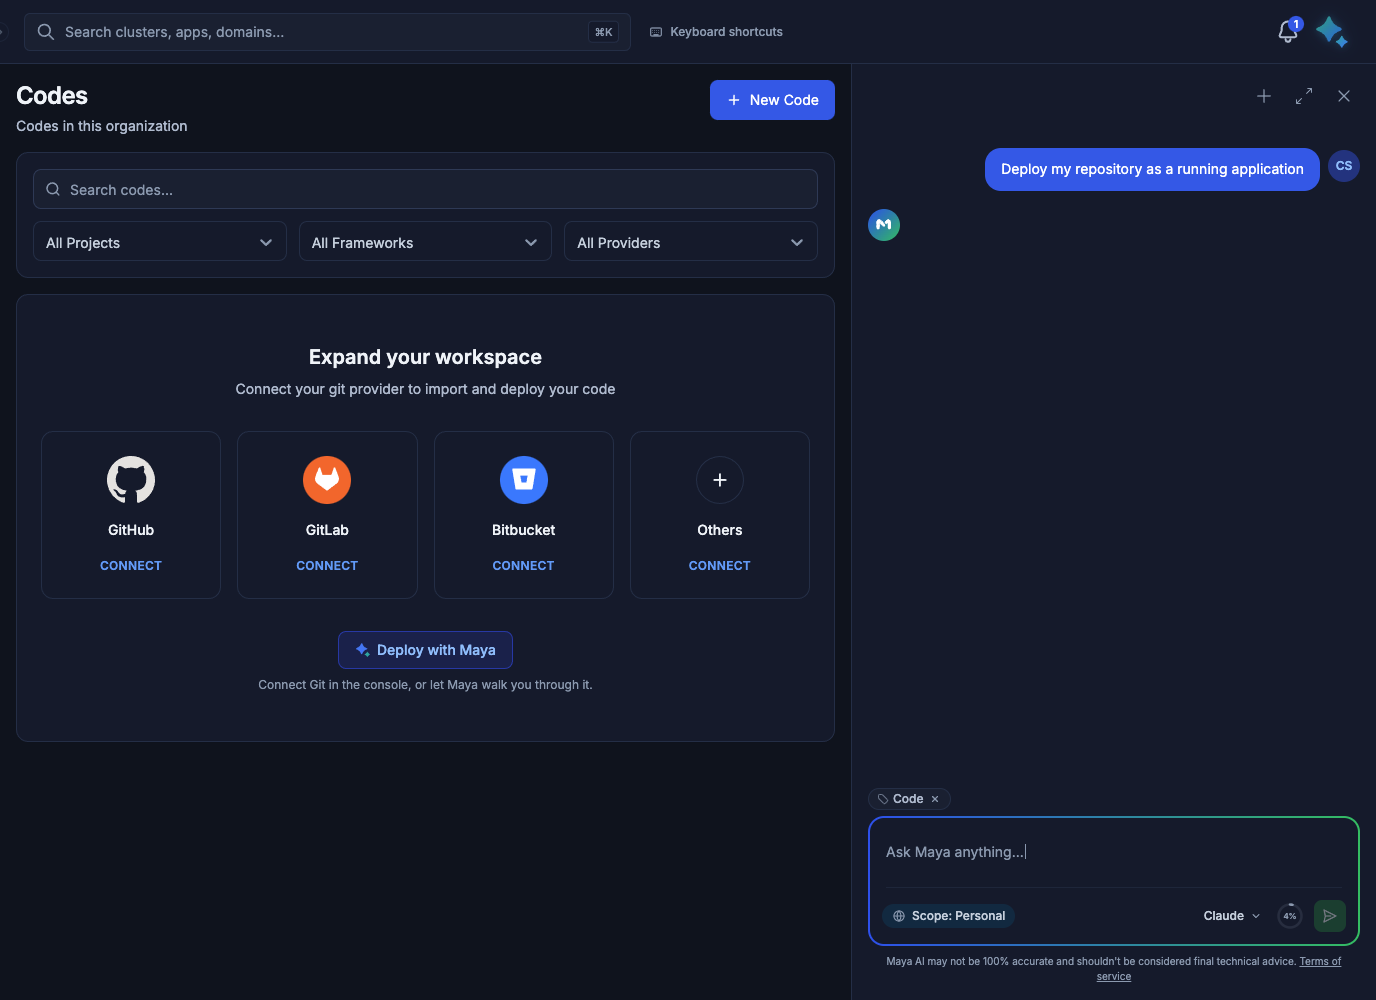
Deploy with Maya on the Codes page. The assistant stays in the side panel.
Providers
| Provider | How you connect |
|---|---|
| GitHub | Connect. Door can build the branches you select, including after a later push. |
| GitLab | Connect. Same as GitHub. This is gitlab.com. |
| Bitbucket | Connect. Same as GitHub. |
| GitlabServer | Manual. Paste the repository URL from your own GitLab. |
| BitbucketServer | Manual. Paste the repository URL from your own Bitbucket. |
Open Add Code, then Connect provider, to see the same list.
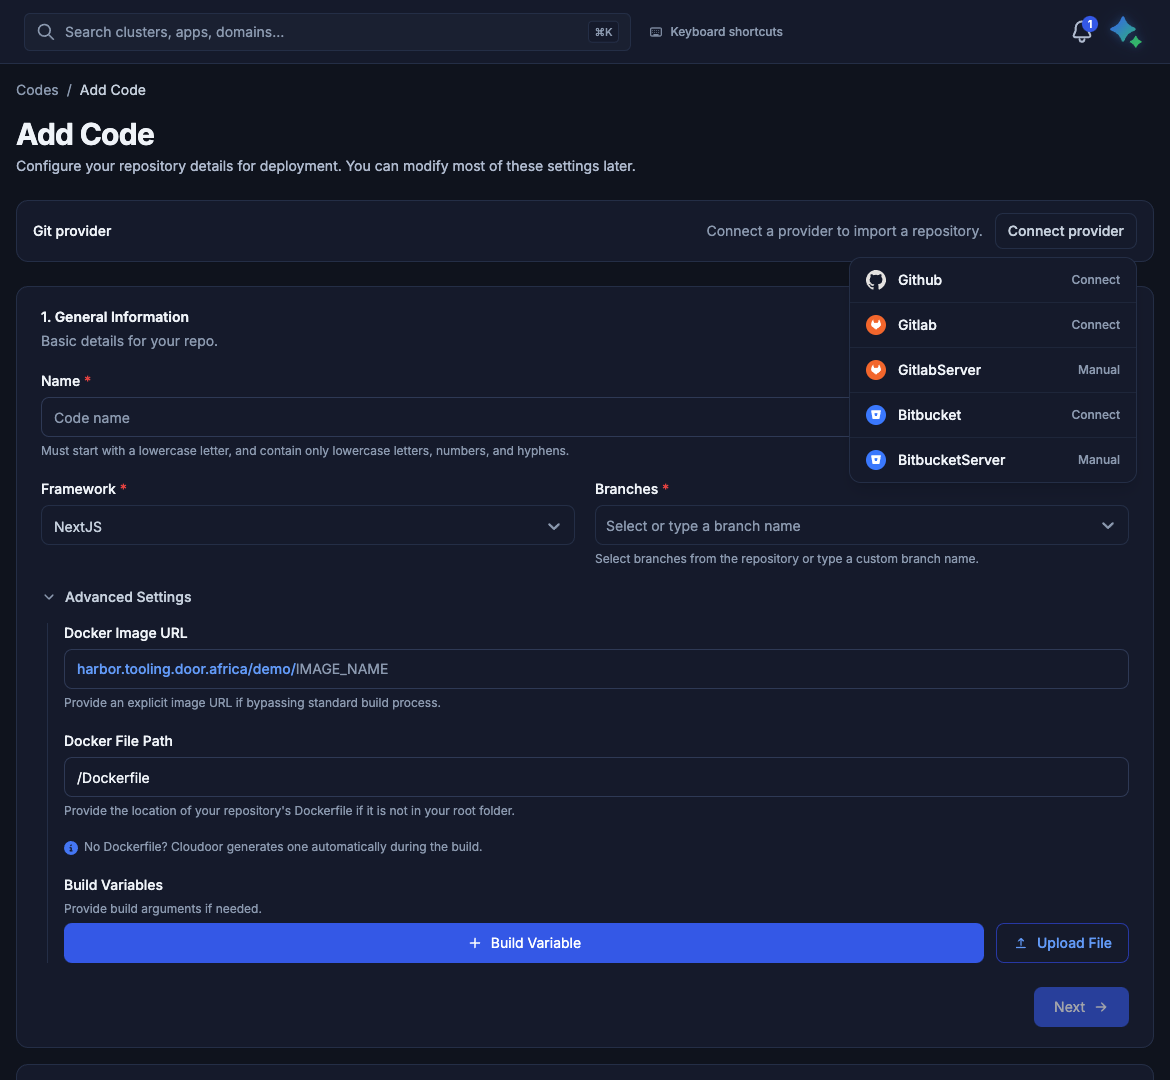
GitHub, GitLab, and Bitbucket use Connect. GitlabServer and BitbucketServer use Manual.
For a self-hosted server, paste the repository URL and click Connect repository. Example: https://gitlab.example.com/group/project.git.
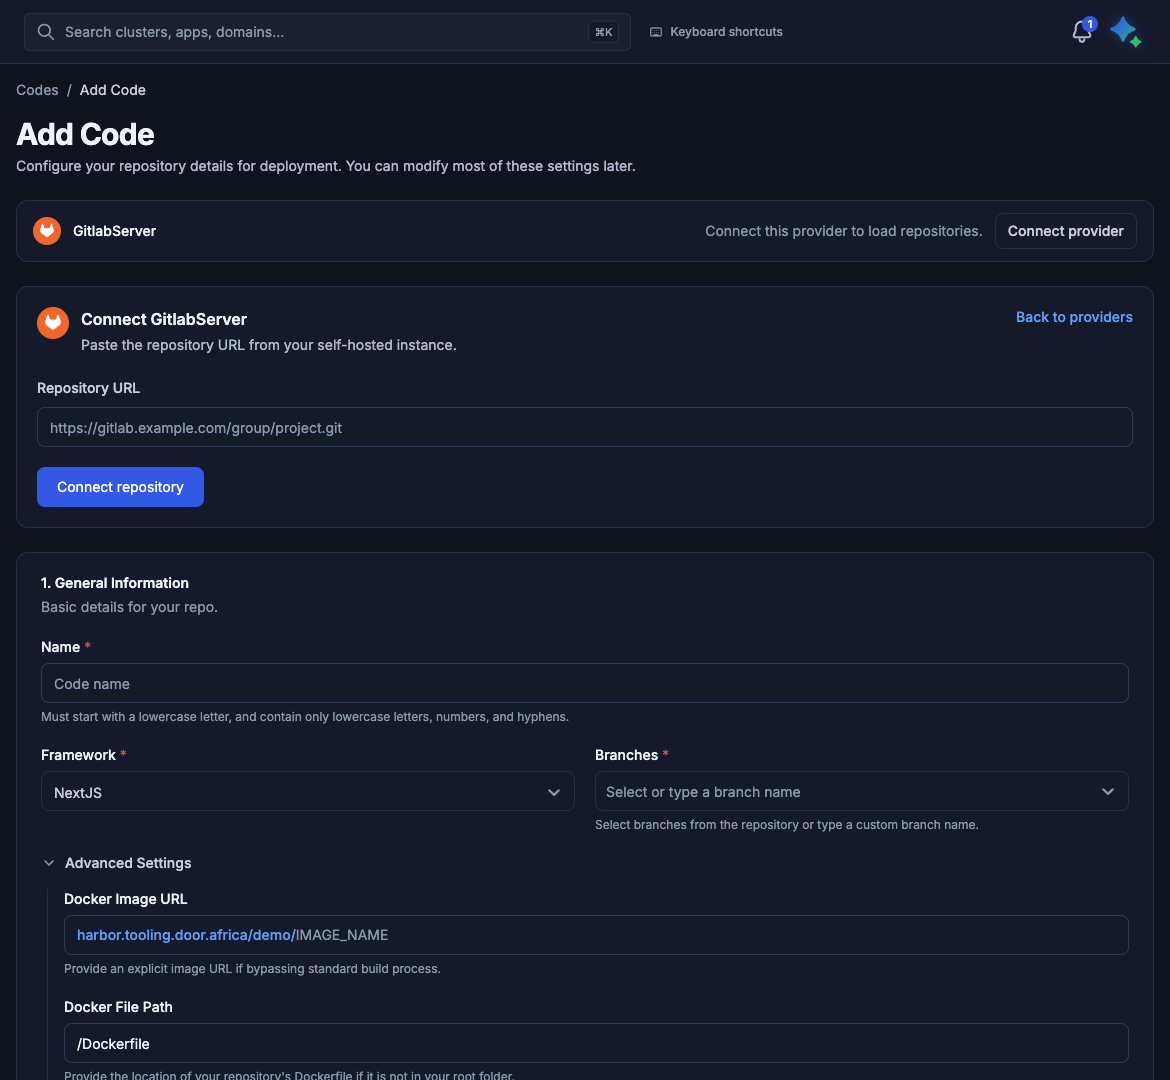
Gitea and Azure DevOps are not in this list.
Add the code
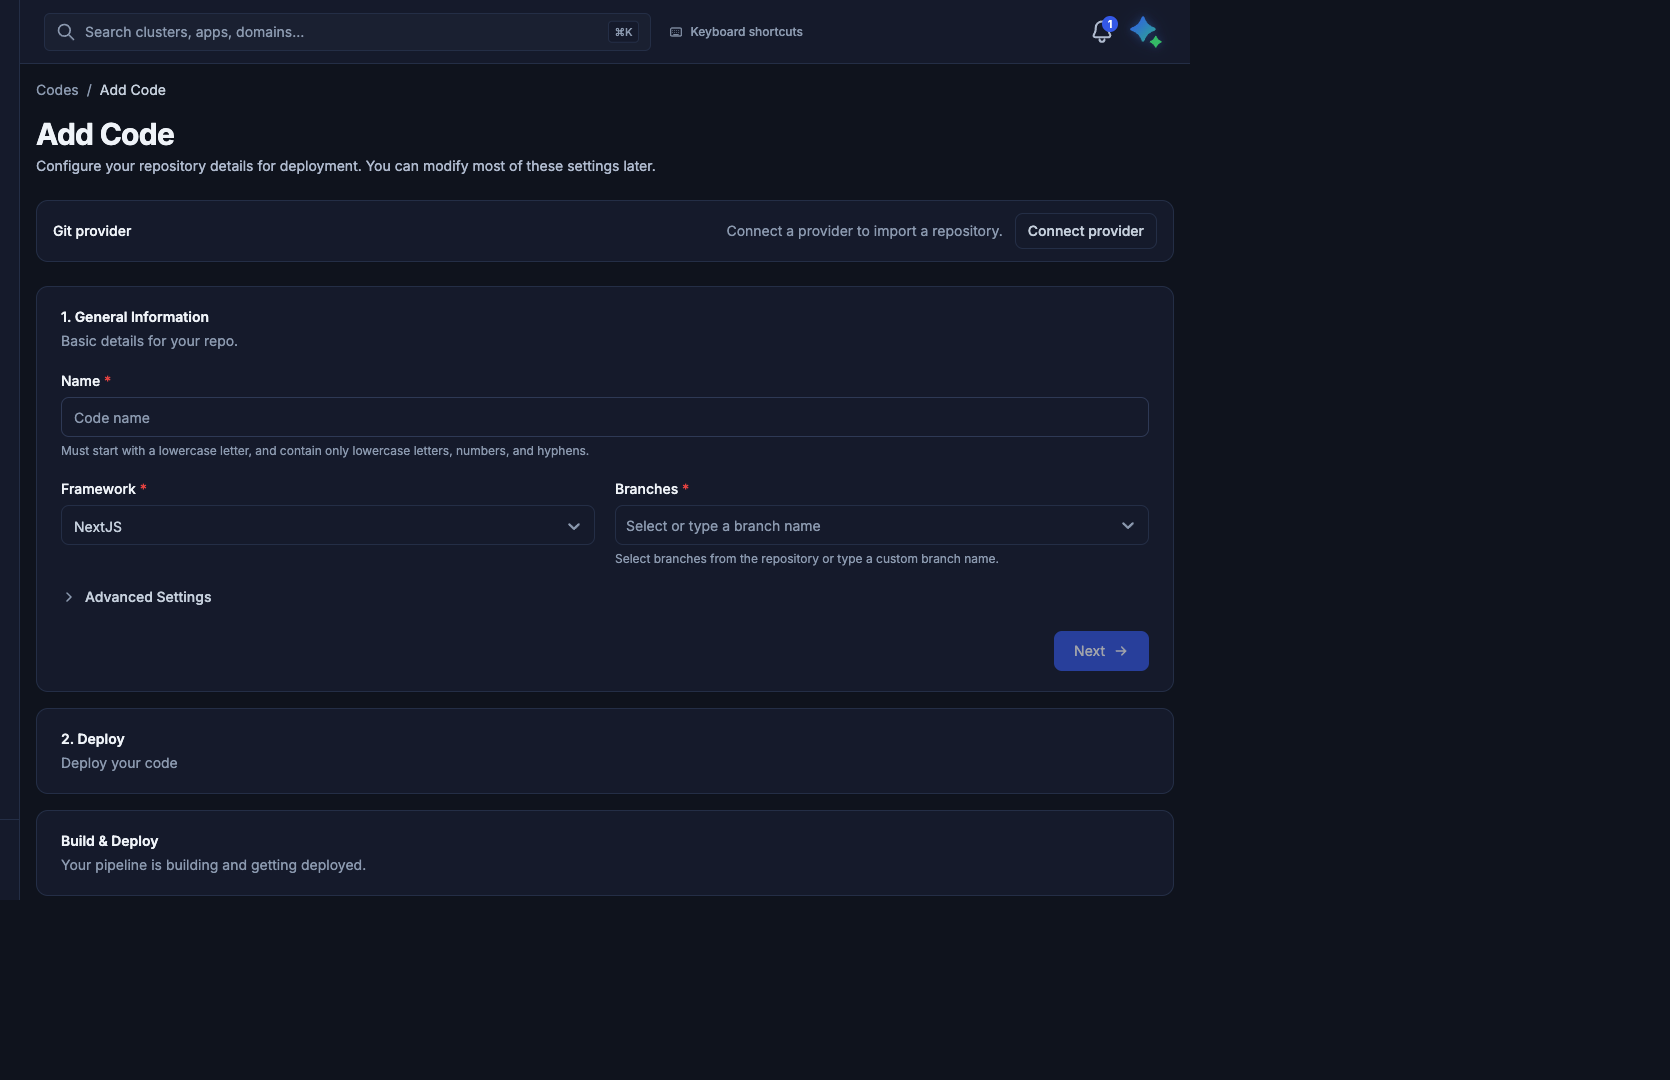
- Click New Code. The page is Add Code (
/code/new). The line under the title is Configure your repository details for deployment. You can modify most of these settings later. - Connect the provider if you have not already, and choose the repository. On this page the button is Connect provider. The menu spells the providers Github, Gitlab, GitlabServer, Bitbucket, and BitbucketServer. Github, Gitlab, and Bitbucket say Connect. GitlabServer and BitbucketServer say Manual. The empty Codes page spells the same clouds GitHub, GitLab, and Bitbucket, and the action there is CONNECT.
- Fill 1. General Information.
| Field | What to enter |
|---|---|
| Name | Placeholder Code name. It must start with a lowercase letter, then lowercase letters, numbers, and hyphens. Door uses this name for the image. |
| Project | Shown when the organization has more than one project. Placeholder Select a project. |
| Registry | Shown when the organization has more than one registry. One registry stays hidden and fills the image URL. |
| Framework | Defaults to NextJS. Pick the framework that matches the repository. |
| Branches | At least one branch. The hint is Select branches from the repository or type a custom branch name. Type a name such as main if the list is empty. |
Next stays disabled until a repository is connected and the name, framework, branch, and Dockerfile path are set. The message is Connect a repository before continuing.
- Click Next.
- On 2. Deploy, choose the environment and the port. The port defaults to 8080. Set it to the port your process listens on.
- Leave Public Exposure off unless the application should have a public URL on this first deploy. You can turn it on later from Apps.
- Click Build & Deploy.
Cancel leaves the page without creating the code.
What Build & Deploy creates
Door creates three things:
- A code, with a build configuration named dev.
- The first build, which starts immediately.
- The application, when you selected an environment. Door deploys it after that first build succeeds. If you deploy again later, a new build does not replace the running application unless Auto Deployment is on. See Applications.
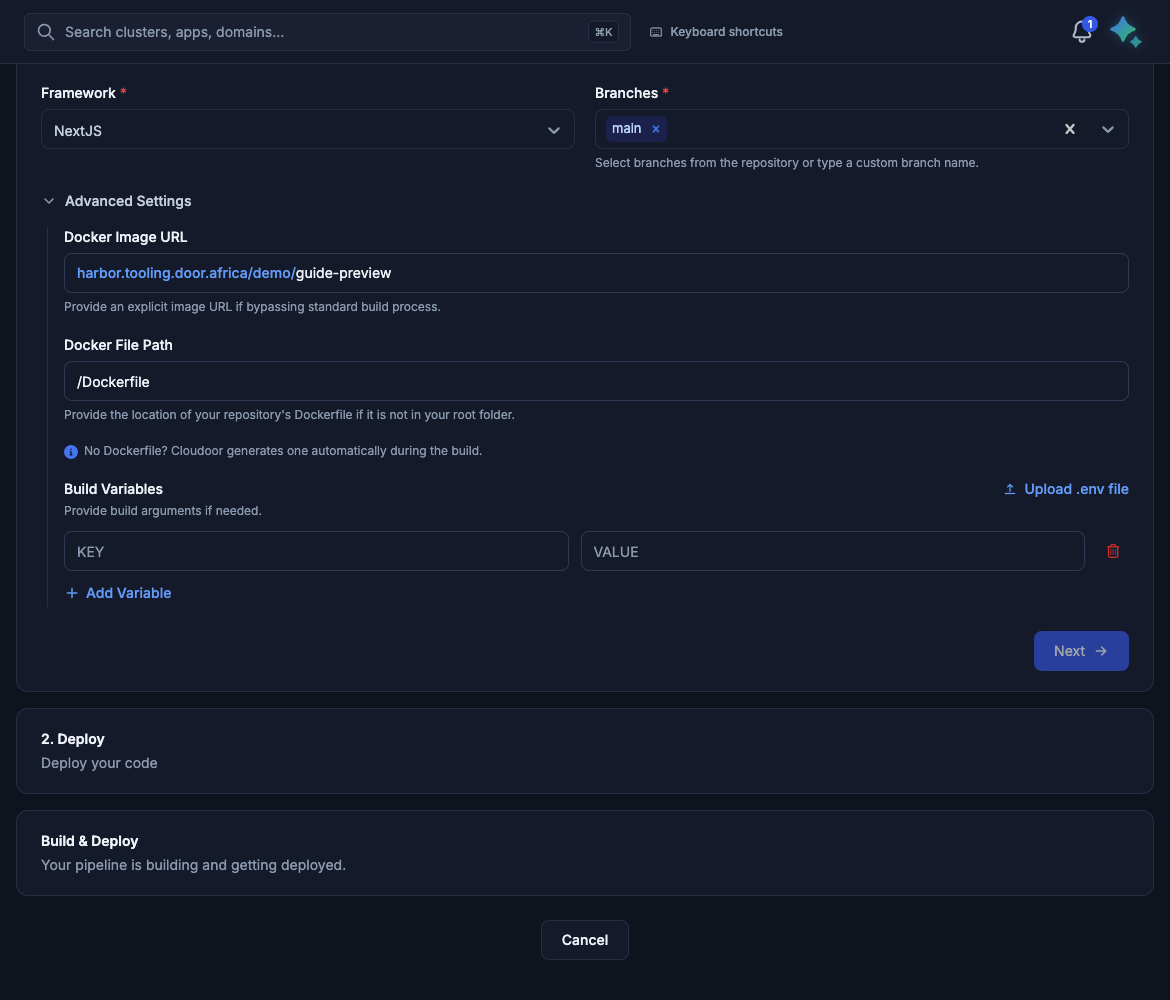
The image is pushed to the registry shown under Advanced Settings. In the demo organization that prefix is harbor.tooling.door.africa/demo/, followed by the code name.
Advanced settings
Advanced Settings is collapsed on the first visit. Open it when the Dockerfile is not at the repository root, or when the build needs arguments.
| Field | Default | Use it when |
|---|---|---|
| Docker Image URL | Registry prefix plus the code name | You already have an image and you are not building from this repository. The hint is Provide an explicit image URL if bypassing standard build process. |
| Docker File Path | /Dockerfile | The Dockerfile is not at the repository root. The hint is Provide the location of your repository's Dockerfile if it is not in your root folder. |
| Build Variables | Empty | The line is Provide build arguments if needed. The first button is Build Variable. Upload File loads a file. After a row exists, the same control reads Add Variable and Upload .env file. |
The note under the path is: No Dockerfile? Cloudoor generates one automatically during the build. Details are in Dockerfile and the build.
You can change the path, the branches, and the build variables later on the code page. See After the code exists.
Framework
The framework is required. NextJS is selected when you open the form.
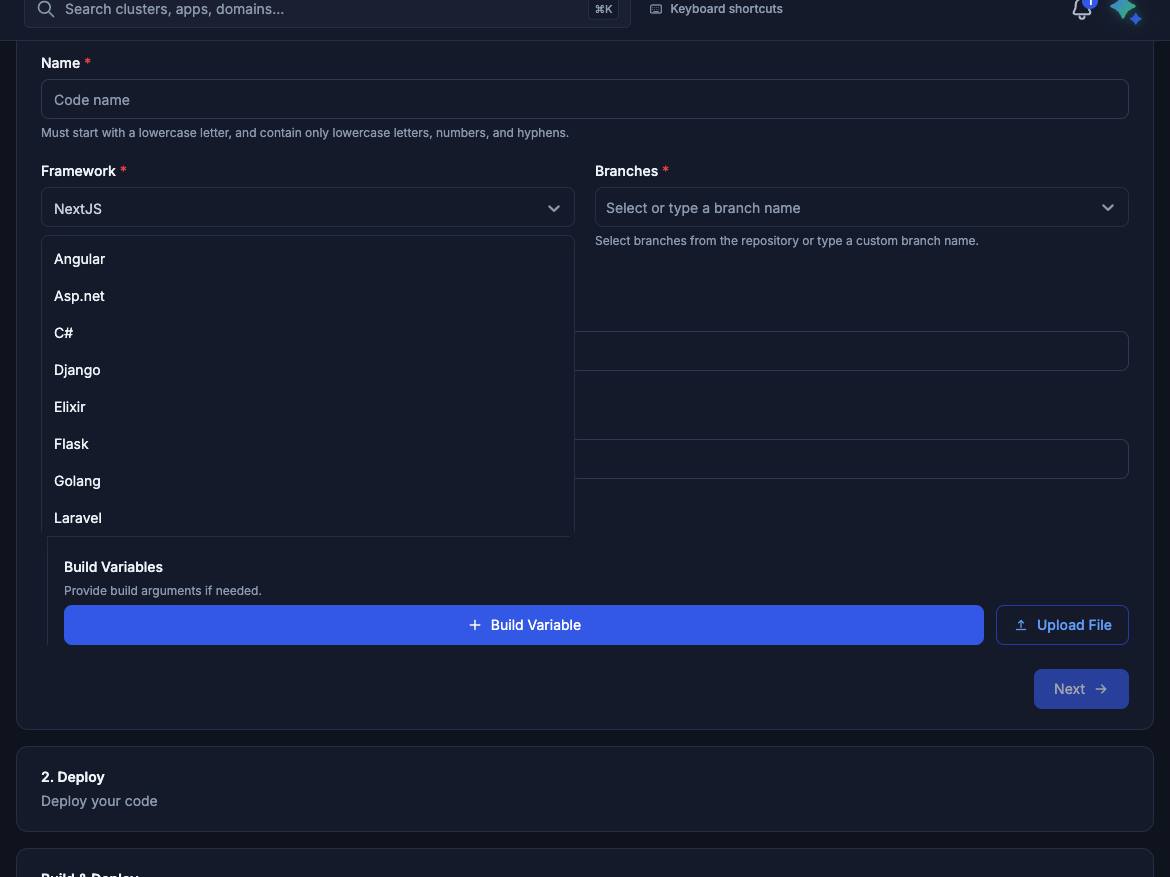
The open list in this screenshot shows Angular through Laravel. It continues with Phoenix, NextJS, Node.js, NestJS, React, Spring Boot, Vue.js, and Others.
After the code exists
Open the code from Codes. The address is /code/ plus the pipeline id. This is where you watch builds, track a branch, start a build by hand, and add a deployment. The demo organization has no code, so this guide has no picture of the page.
| You see | What it does |
|---|---|
| Delete | Removes the code. The dialog is Delete pipeline?. The confirm button is Delete pipeline. That also removes its build configurations, deployments, and build history. |
| Analyze with Maya | Opens the assistant for this code. The words are on the button when the latest build failed. Otherwise the same action is the sparkle icon, and its tooltip is Analyze with Maya. Confirm before you let it change the code. |
| Recent Builds | The latest run, then Previous builds. View All opens Pipelines for this repository. Rerun pipeline runs that build again. |
| No builds yet | Nothing has run. Track branch starts a tracked branch. |
| Ready, Failed, Timed out, Running, Pending, Canceling, Cancelled | The status badge on a build. Ready means that build succeeded. |
| Deployments, + Add | Publishes a tracked branch into an environment. An empty card says No deployments yet. |
| Branch Tracker | Type a branch in Track new branch... and click Track. See More... shows the next branches. |
| Latest Commits | Search branches filters the list. Build on a row opens Manual Build. |
| Manual Build | Configuration is the tracked branch. Version is the image tag. Build Now starts the run. |
| New Tracked Branch / Edit Tracked Branch | Branch Selection, Docker Image URL, Docker File Path, Severity Level, and Build Variables. Severity Level is the image scan threshold: None, Critical, High, Medium, or Low. None does not set a threshold. Save Now creates the branch. Update saves an edit. |
| Generated by Cloudoor | On the Dockerfile card when Cloudoor wrote the file for that branch. View Dockerfile and Hide Dockerfile open and close it. Copy Dockerfile copies the text. See Dockerfile and the build. |
| New Deployment / Edit Deployment | Opens from + Add, or from a row you already have. Tracked Branch Selection, Environment, and Port (default 8080). Public Exposure starts off. Environment Variables are optional. Under Advanced Settings: Custom/Add Prefix Paths (placeholder /), Commands to Execute (only when you add, not when you edit), and Is it a websocket? (off). Add & Deploy publishes a new one. Update saves an edit. |
| Delete tracked branch? | Confirm button Delete branch. Opened from Edit Tracked Branch. |
| Delete deployment? | Confirm button Delete deployment. Opened from Edit Deployment. |