Endpoint Management
Endpoints serve as the primary entry points for external traffic into your services, defining the interface through which clients interact with your backend applications. They are essential for managing traffic and security of your APIs, allowing you to control how requests are routed and processed. Now, let's explore the step-by-step process of creating an endpoint.
Creation via the UI (step-by-step tutorial)
To create an endpoint, simply click the “Add Endpoint” button on the top right of the dashboard.
A form will pop up.
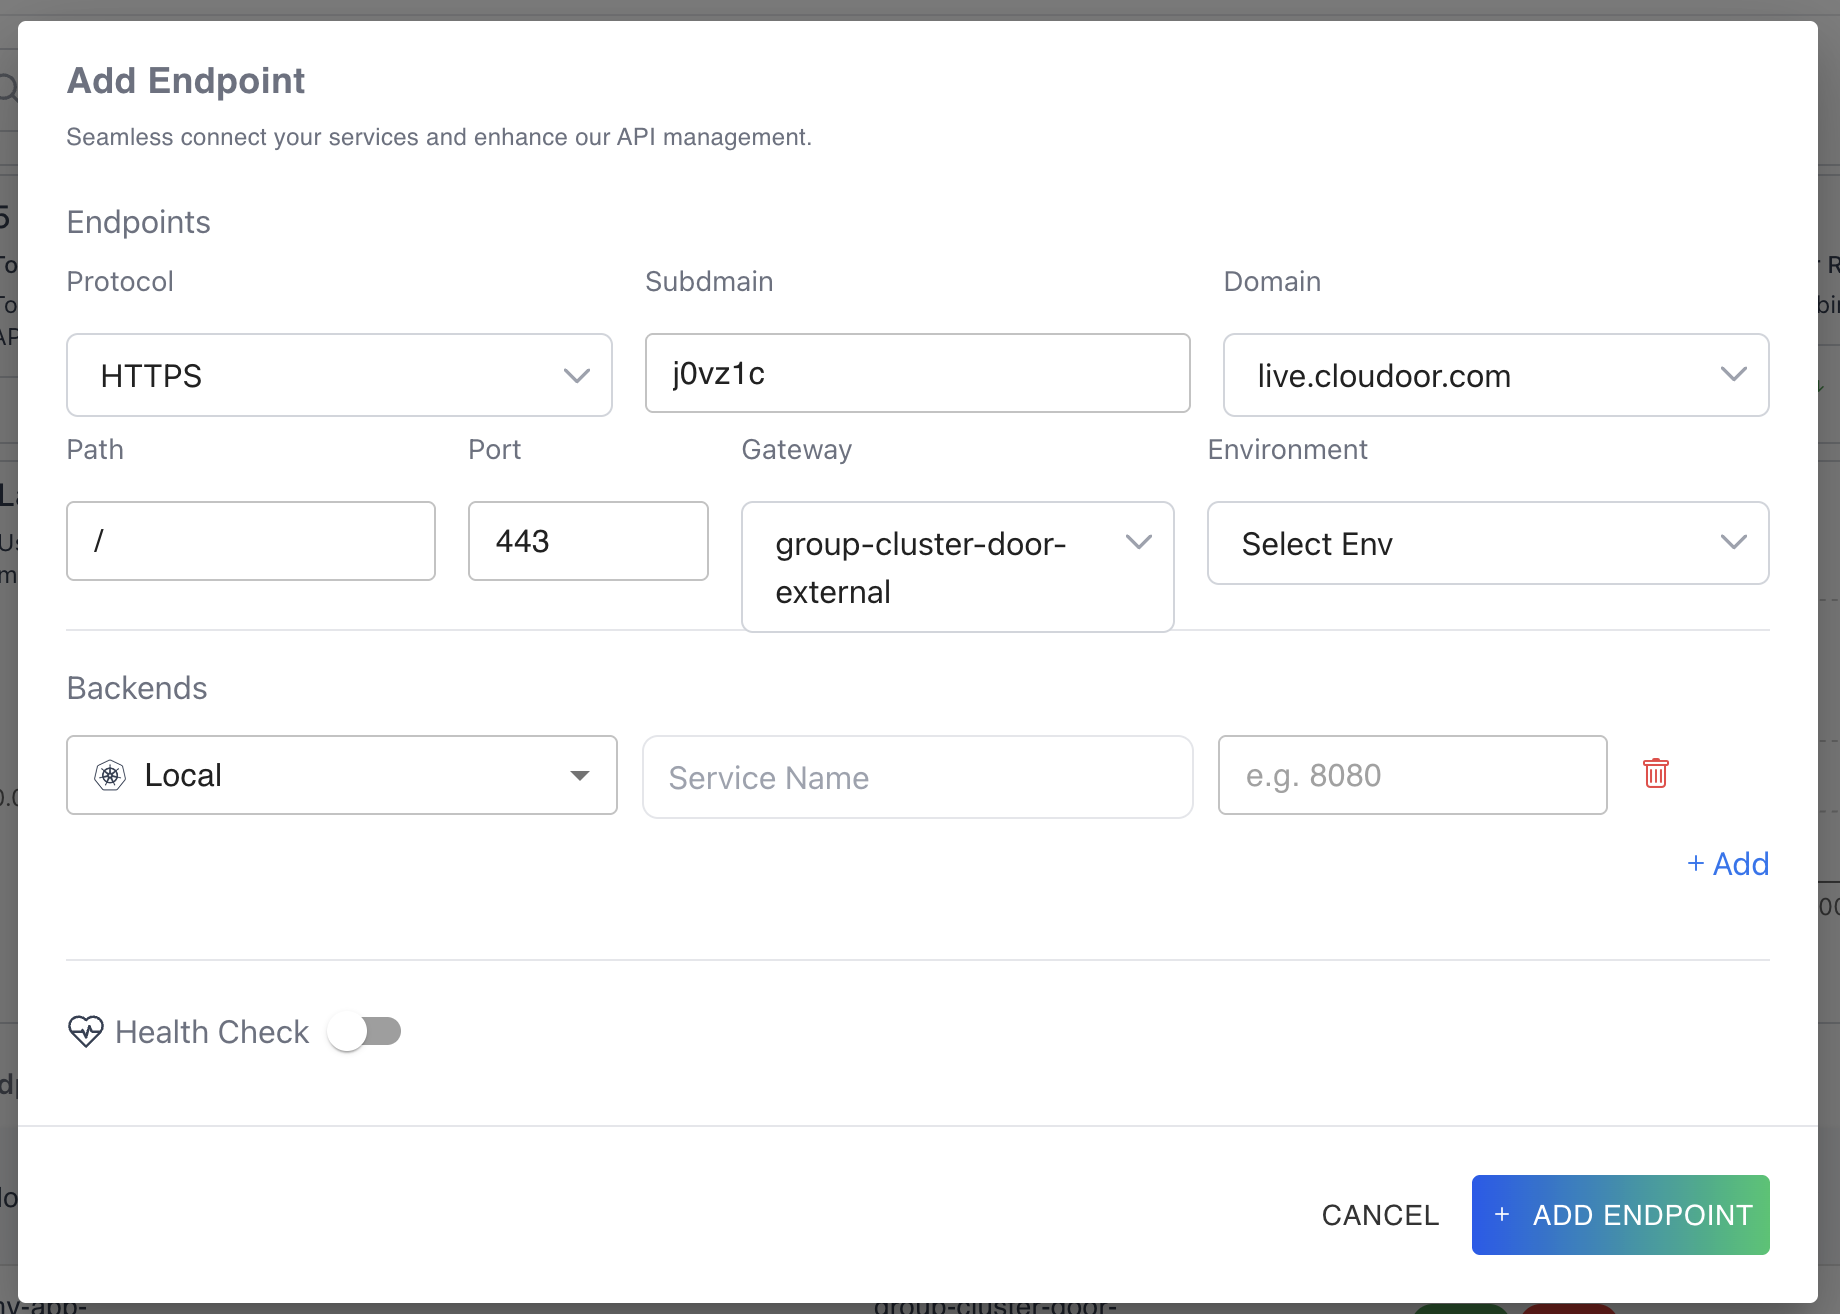
Step 1: Fill the form.
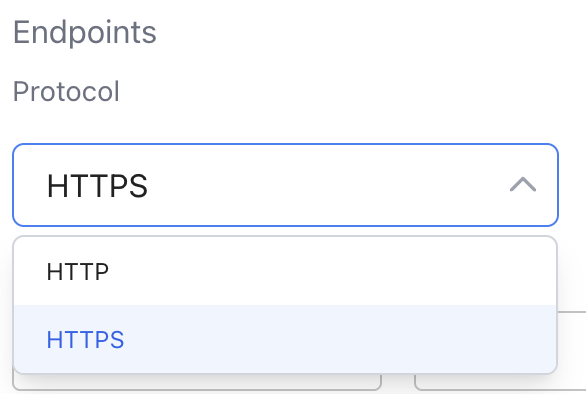
Choose your protocol: HTTPS or HTTP.
You can write a subdomain or keep the autogenerated one, choose a Domain from a list of already added domains in your organization. Choose your path, port and gateway. Your gateway is dependent on the domain chosen. Choose the environment you are creating the endpoint in.
Step 2: Configure the backend.
Choose what type of backend you want your endpoint to have. Local or External.
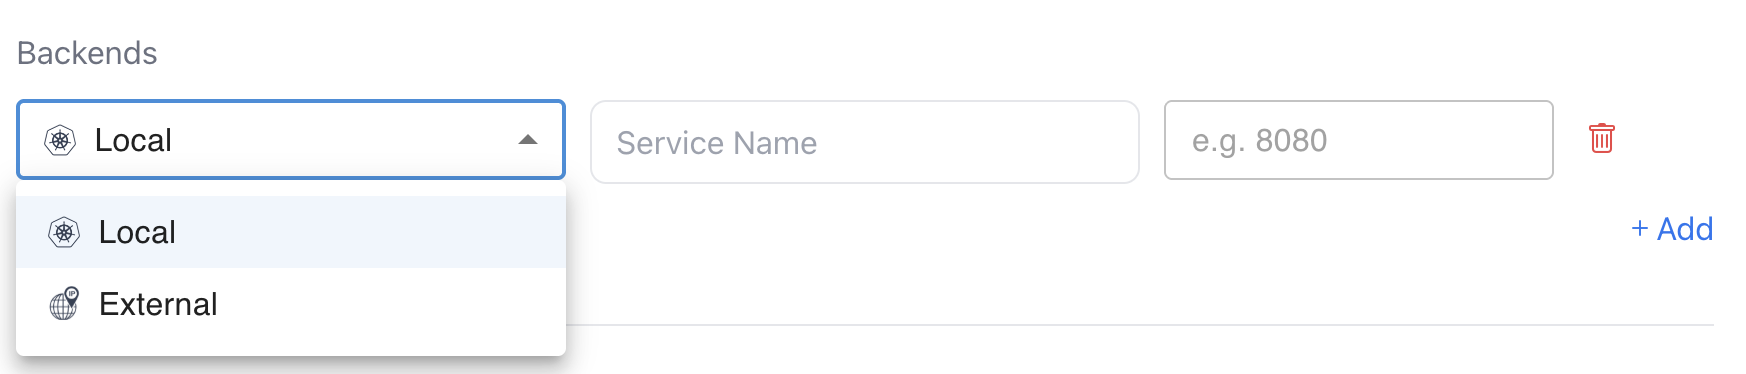
- Local: Choose the Service name and port.
- External: Choose a protocol from unsecure or tls. fill the ‘IP or Host’ and port.

You can add multiple backends to your endpoint by clicking the “+ Add” button below.
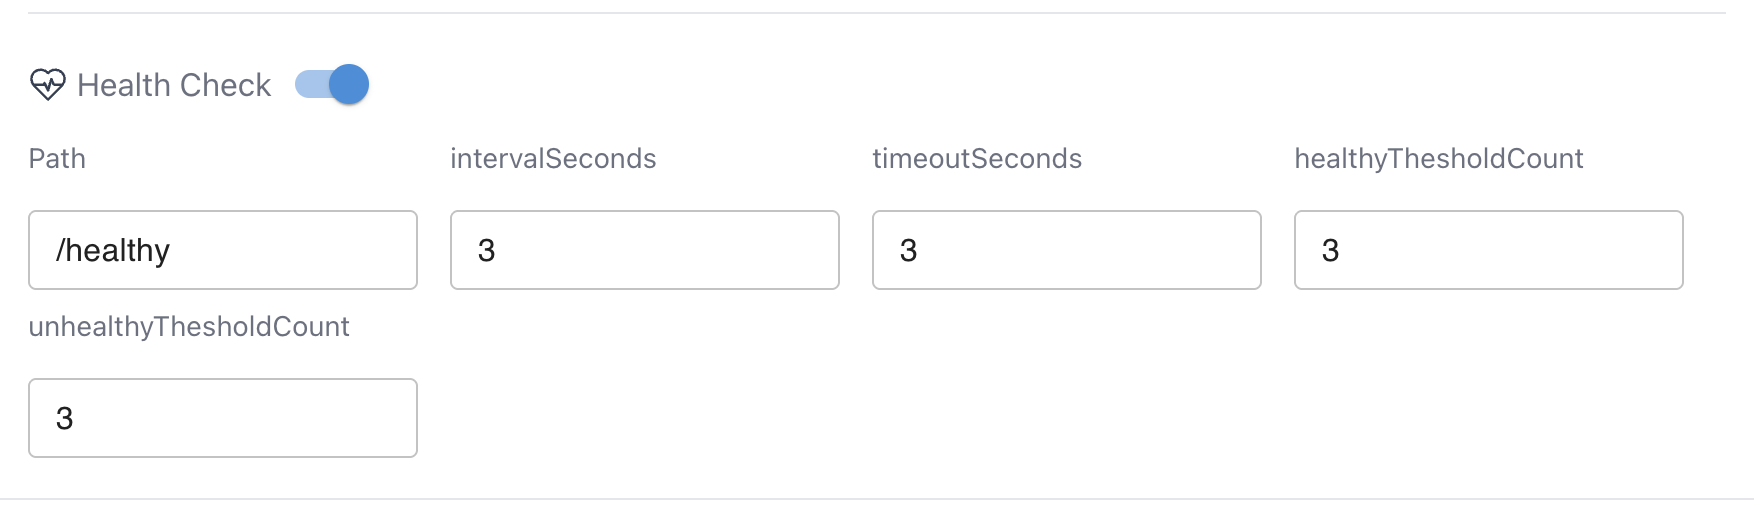
Step 3: Healthcheck - Optional
You can fill the healthcheck form.
Step 4: Complete
When you’re done, Click the “Add Endpoint” button below the form. You’ll receive a notification and your endpoint will be added to the endpoint summary table where you’ll see it’s status as “Updating”. Give it a few mins to show “Ready”
Manage Endpoints
To make changes to your endpoint, simply click the endpoint on the Endpoint summary table. You’ll be led to the endpoint personal dashboard.
On this dashboard you can see an overview of everything in your endpoint. The HTTP code repartition piechart on the right showing the amount of successful and unsuccessful requests with their error codes.
The Metrics table on the left shows the Latency, Requests, Success rate and failure rate. You can choose what timeframe you’re looking for by clicking the Timeframe dropdown menu on the top right and choosing between Over 1 hour to Over 6 months.
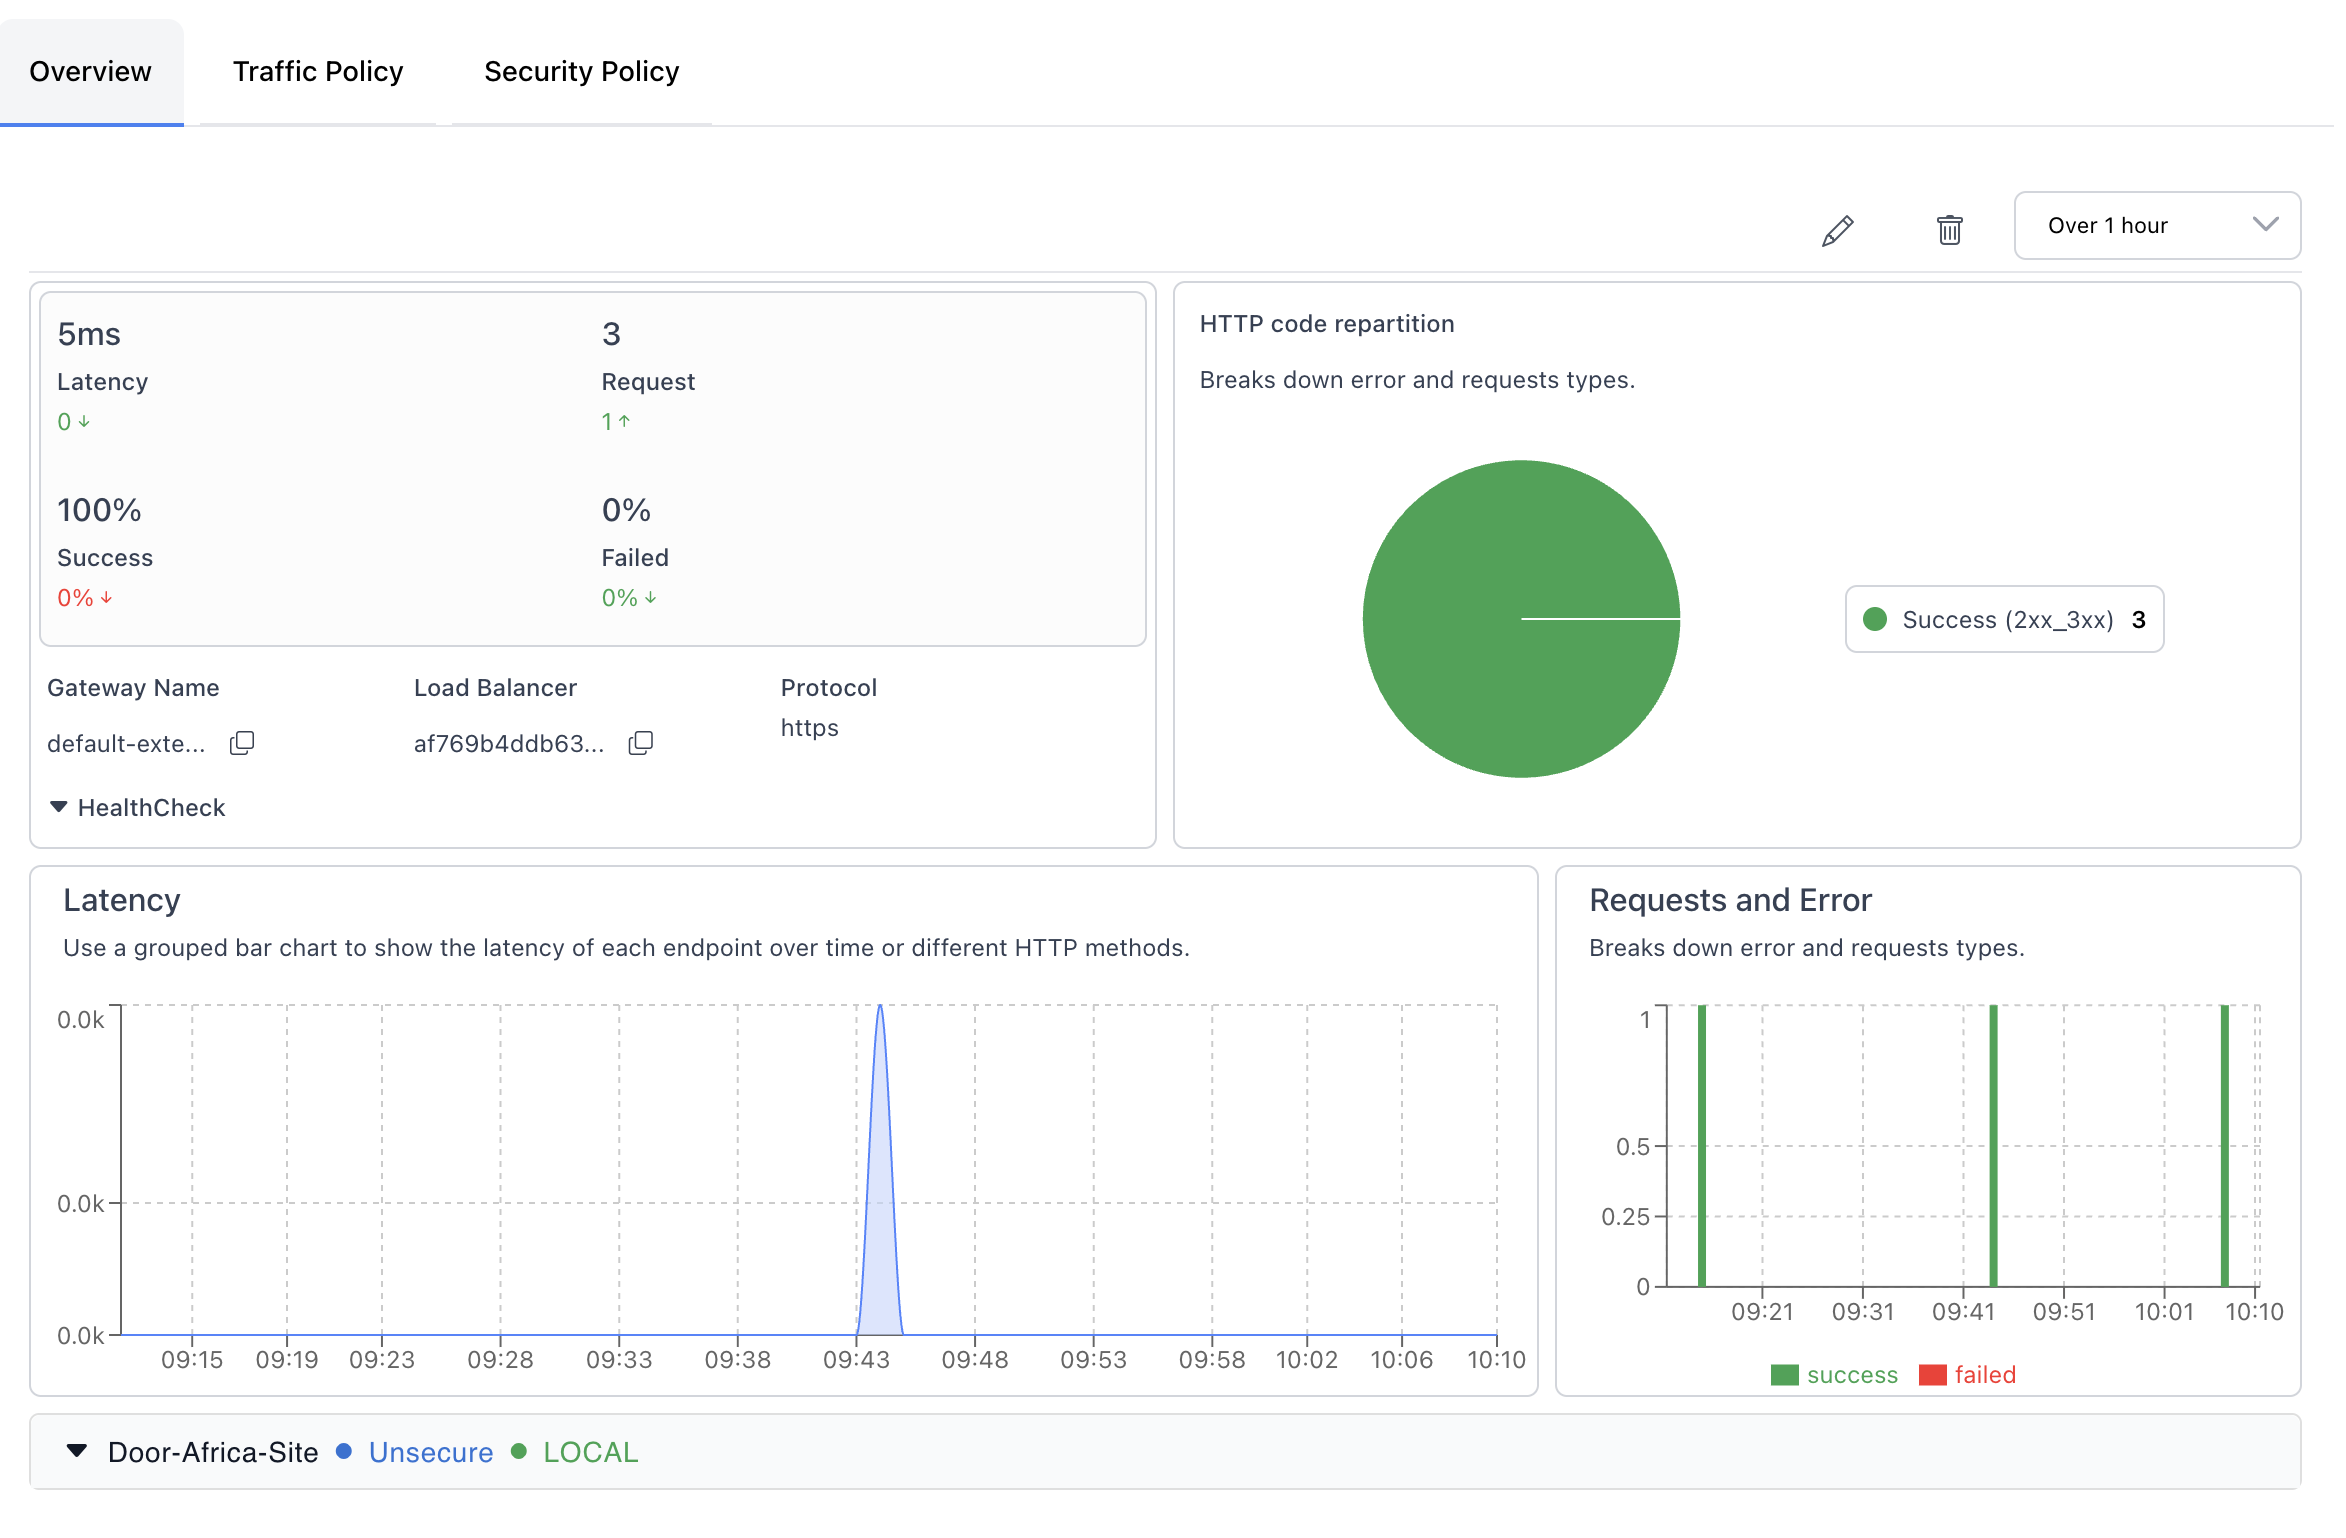
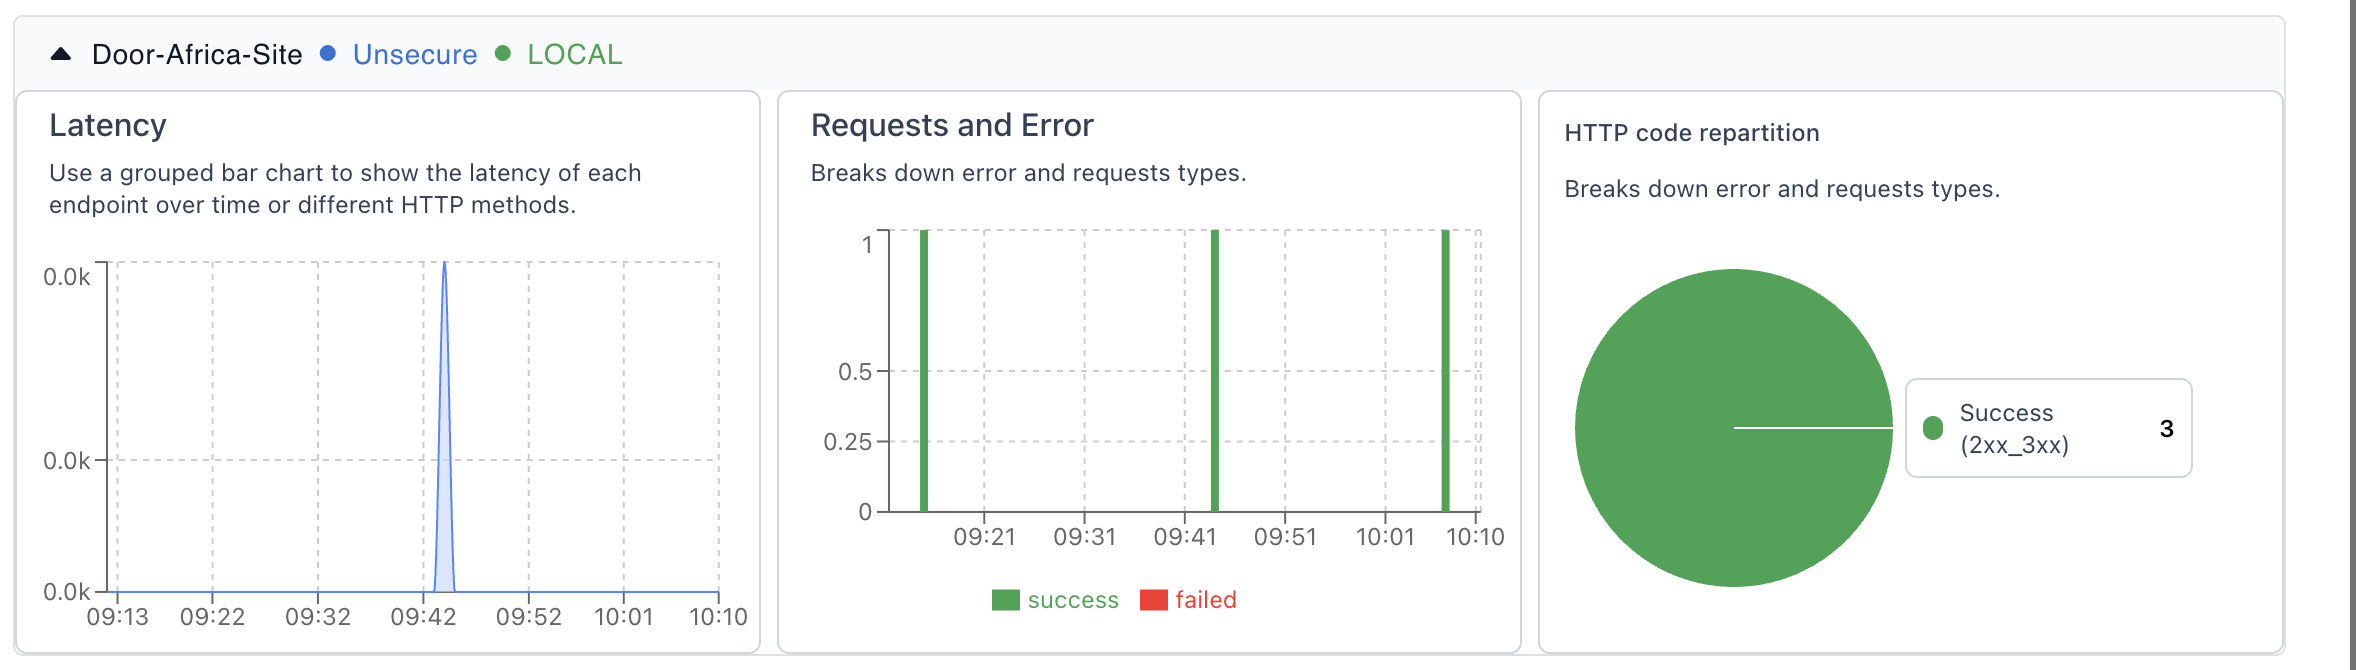
Below the HTTP code repartition and Metrics table. You’ll find the Latency and Requests and Errors graph. And below that, you’ll find specific metrics for each backend in your endpoint.
Edit Endpoint:
Click the edit endpoint icon or the delete endpoint icon.
A form will pop-up. You can change the protocol, subdomain, path, port and Health Check.
Delete Endpoint:
You’ll be required to confirm the name of the endpoint for deletion. 
Further research
- Configuring Gateways: Gateways
- Configuring Domains: Domains
- Configuring Authservers: Authservers